Installing a home sauna is a rewarding investment for your wellness and property value. Whether you’re considering an infrared, steam, or traditional wood-burning sauna, understanding the installation process is key to ensuring your new sauna meets your expectations for relaxation, health benefits, and efficiency. This comprehensive guide outlines the steps, considerations, and tips for a smooth sauna installation at home.
Key Takeaways
Aspect
Details
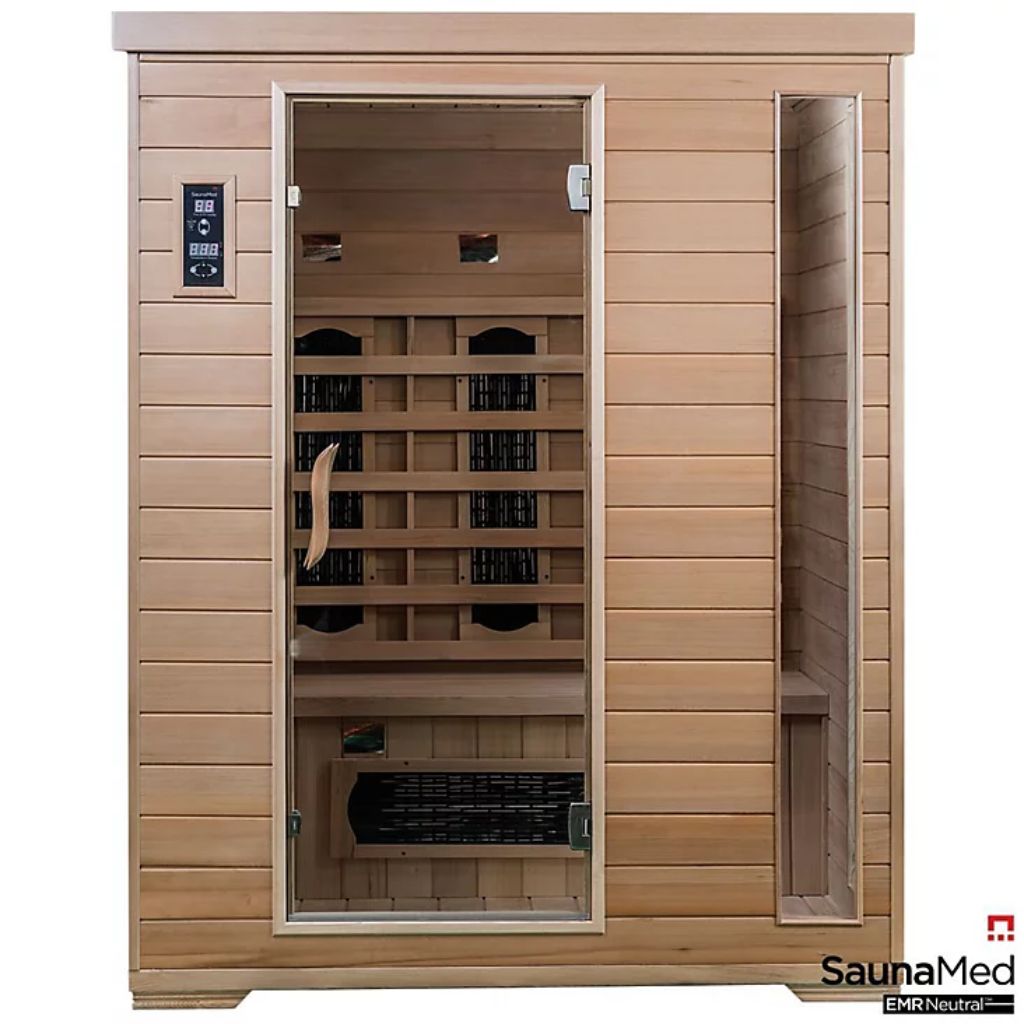
Types of Saunas
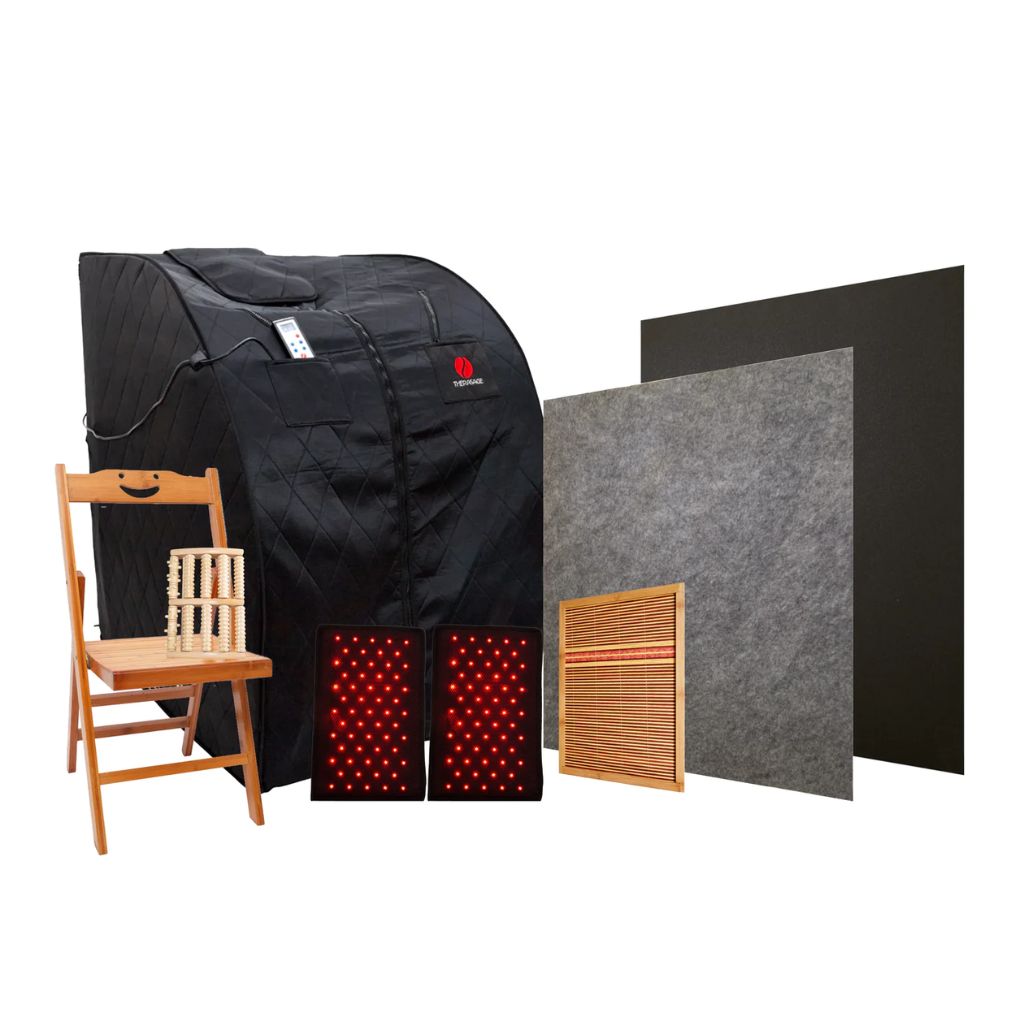
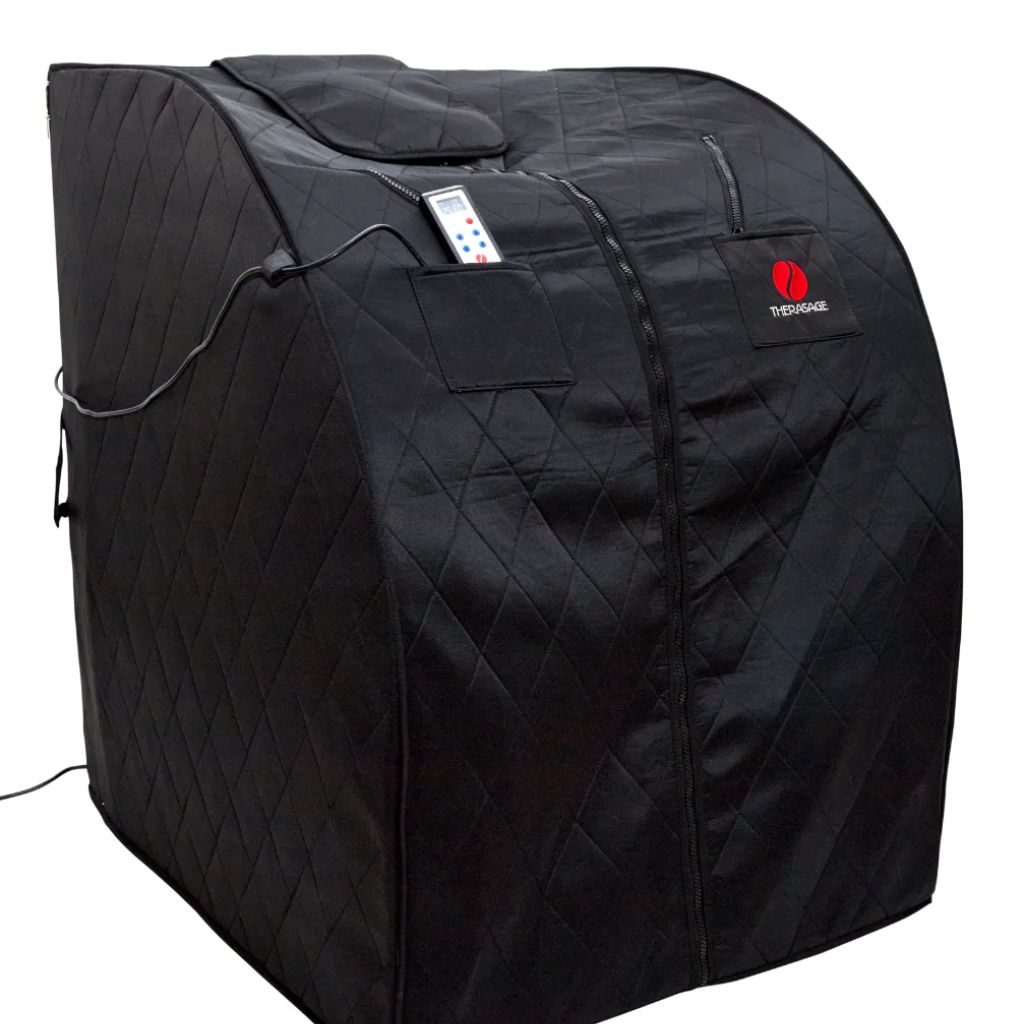
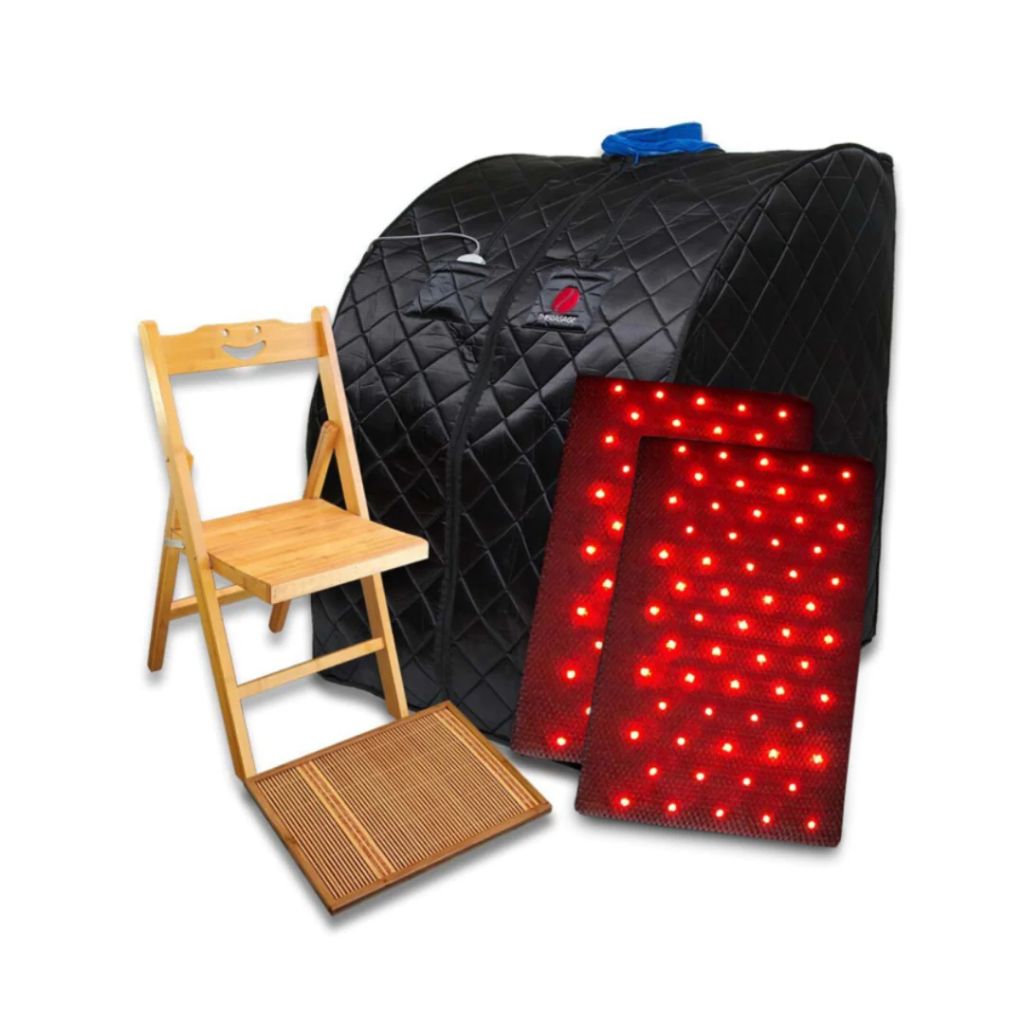
Infrared, Steam, Wood-Burning, Electric
Installation Location
Indoor vs. Outdoor, Space Requirements
Preparation
Ventilation, Electrical Requirements, Base Preparation
Installation Process
DIY vs. Professional Installation
Maintenance
Regular Cleaning, Heater and Stone Care
Choosing the Right Sauna
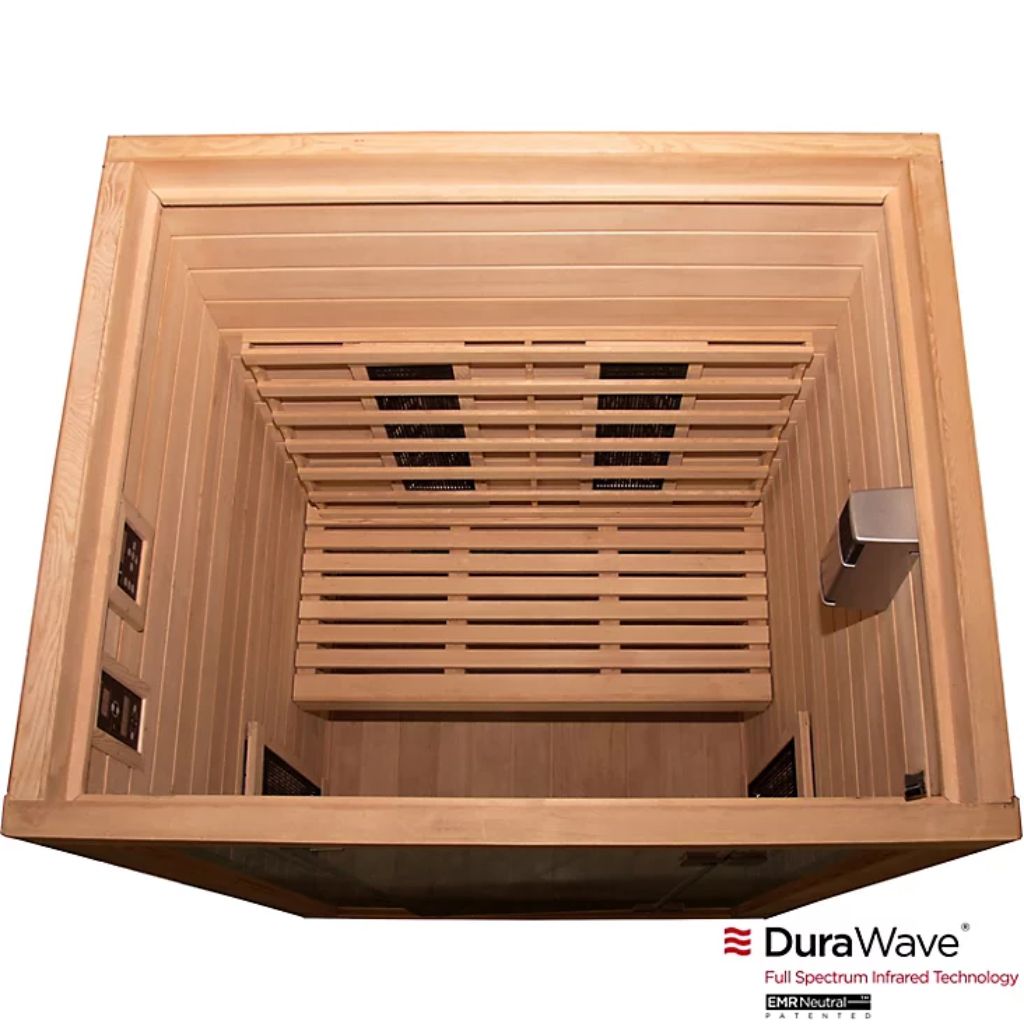
Before diving into the installation process, selecting the right type of sauna to suit your needs and space is crucial. Explore the types of home saunas to understand the differences between infrared, steam, and traditional saunas. Consider the benefits of home saunas and how each type aligns with your wellness goals.
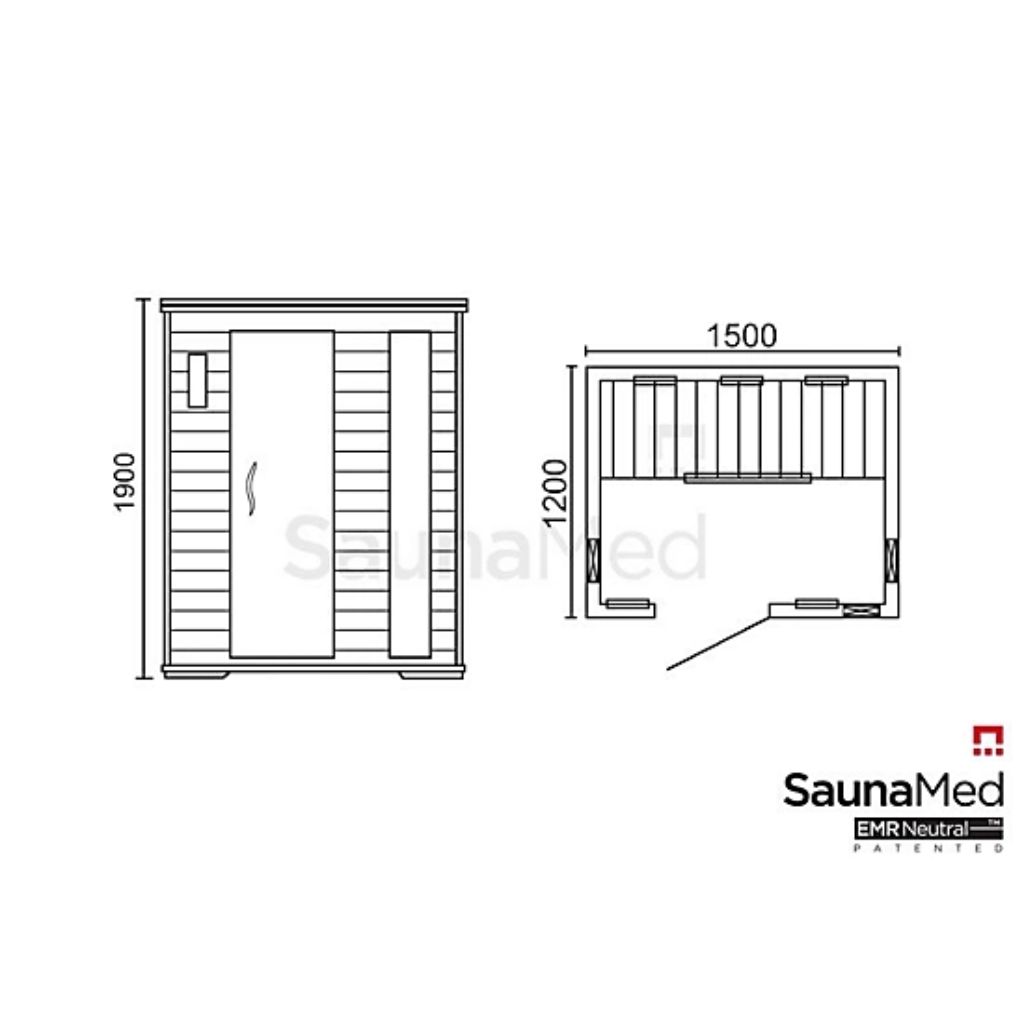
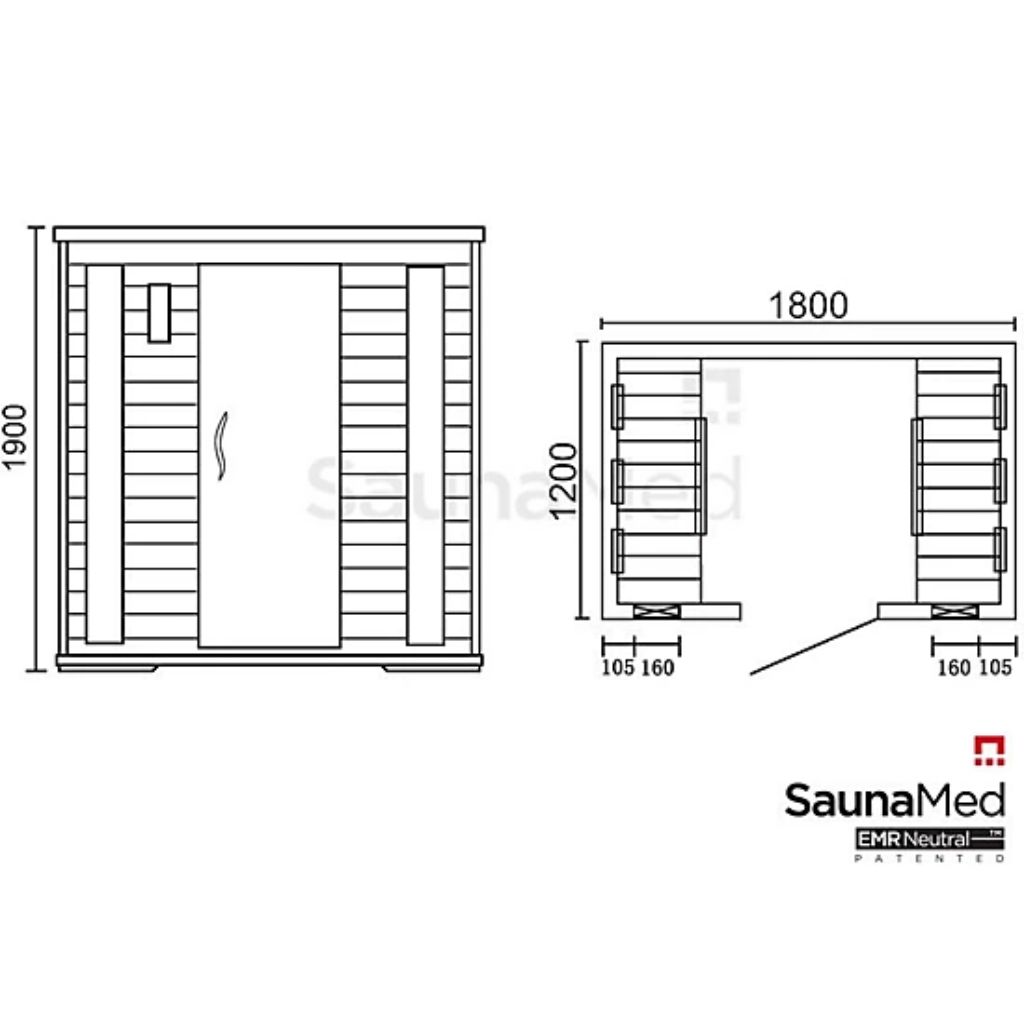
Installation Location
Deciding where to install your sauna is the first step. Indoor installations offer convenience and year-round access, while outdoor home saunas provide a unique experience closer to nature. Consider space availability, access to electrical outlets (for electric and infrared saunas), and whether your choice supports wet or dry sauna use.
Indoor Saunas
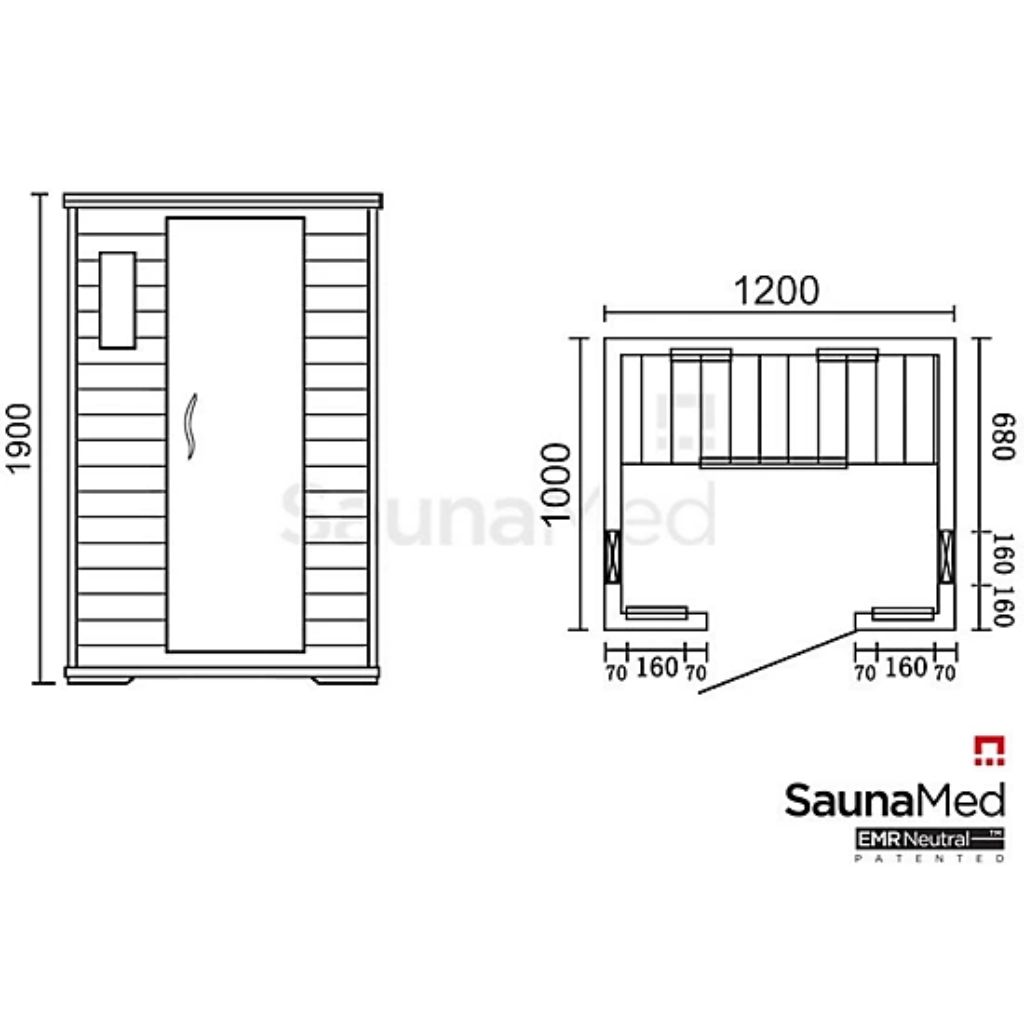
Space Requirements: Ensure adequate space for the sauna unit and additional clearance for ventilation and maintenance.
Ventilation: Proper ventilation is crucial for air circulation and humidity control. Refer to home sauna ventilation guidelines for best practices.
Electrical Requirements: Infrared and electric saunas need access to electrical outlets. Review the installation requirements for specifics on voltage and amperage.
Outdoor Saunas
Foundation: A solid and level foundation is essential for outdoor saunas to ensure stability and prevent moisture ingress.
Weather Protection: Consider weatherproofing options and placement that offers protection from the elements.
Accessibility: Ensure easy access to the sauna from your home, particularly in colder months.
Installation Process
Preparation
Base Preparation: Whether indoor or outdoor, the base must be level, stable, and capable of handling the sauna’s weight. Outdoor saunas may require concrete slabs or reinforced decks.
Electrical Setup: For electric and infrared saunas, professional electrical installation might be necessary to accommodate the specific power requirements.
DIY vs. Professional Installation
DIY Projects:DIY home sauna projects are feasible for pre-cut or modular kits. Ensure you have the right tools and follow the manufacturer’s instructions closely.
Professional Installation: For custom builds or if you’re not comfortable with DIY, hiring a professional ensures proper installation, especially for electrical and ventilation systems.
Post-Installation
Maintenance and Care
Regular maintenance is crucial to prolong your sauna’s life and performance. Follow the guidelines on home sauna maintenance and care to keep your sauna in top condition.
Installing a home sauna can be a straightforward process with proper planning and understanding of the requirements. Whether you opt for a DIY installation or professional help, focusing on the location, preparation, and maintenance will ensure that your home sauna serves as a haven of relaxation and health benefits for years to come.